
A broken window at night, in a storm, or just before a long weekend is the moment most people discover they do not own a sheet of plywood. To board up a window safely, clear the loose glass, cut a panel of plywood at least a few inches larger than the opening, and fasten it to solid framing with screws rather than nails, so that it stays tight against wind, rain and anyone trying to get in. That is the short version, and for a small ground-floor window it is a reasonable job for a careful homeowner. For anything large, high up, or surrounded by hanging glass, calling a professional is the safer choice.
This guide covers what you need, how to do it step by step, the mistakes that make a board-up fail, and how to tell when it is time to hand the job over.
What a board-up is for, and what it is not
A board-up is a temporary closure. Its job is to keep the weather out, stop people and animals getting in, and protect the building from further damage until the glass is replaced. It is not meant to look good, it is not insulation, and it is not a long-term fix.
Most boarded windows stay covered for a few days to a few weeks, depending on how fast the new glass can be made and installed. Custom sealed units and tempered glass take longer than a standard single pane, and that is the main reason board-ups last as long as they do.
Before you start: safety first
Broken glass hurts people most during the cleanup and the first fitting. Take a few minutes to get set up properly.
- Wear protection. Cut-resistant gloves, eye protection, long sleeves and sturdy shoes. A dust mask helps if there is fine glass debris.
- Work with a partner if the board is large. Plywood is heavy and awkward.
- Check for loose glass in the frame. Look at the top edge and corners. Shards that are still held in the frame can fall when you start working.
- Keep kids and pets away from the area.
- Use a stable ladder for anything above head height, and never lean out of an upstairs window to work on it from the inside.
- Do not work in a storm if lightning or heavy wind is present, unless it is the only option.
If a window is on the second floor or higher, or the glass is hanging in large sheets, stop and call a professional. We cover the full picture of what to do when glass breaks in a separate guide.
Tools and materials
You do not need much, but the right materials make the difference between a board that holds and one that blows off in the first gust.
| Item | Notes |
|---|---|
| — | — |
| Plywood or OSB sheet | Commonly around half an inch thick or more for ground-floor windows, thicker for exposed or large openings |
| Wood screws | Long enough to bite into framing, with a drill or driver |
| 2×4 strips | For bracing, or to build a frame when the siding is awkward |
| Tape measure and pencil | To mark the opening and the board |
| Circular saw or hand saw | Or have the hardware store cut it |
| Heavy gloves and safety glasses | Non-negotiable |
| Plastic sheeting and tape | For a quick weather seal inside |
| Caulk or weather-resistant tape | Optional extra seal around the board |
Tip: most hardware stores will cut a sheet to your measurements, which saves time and sawdust.
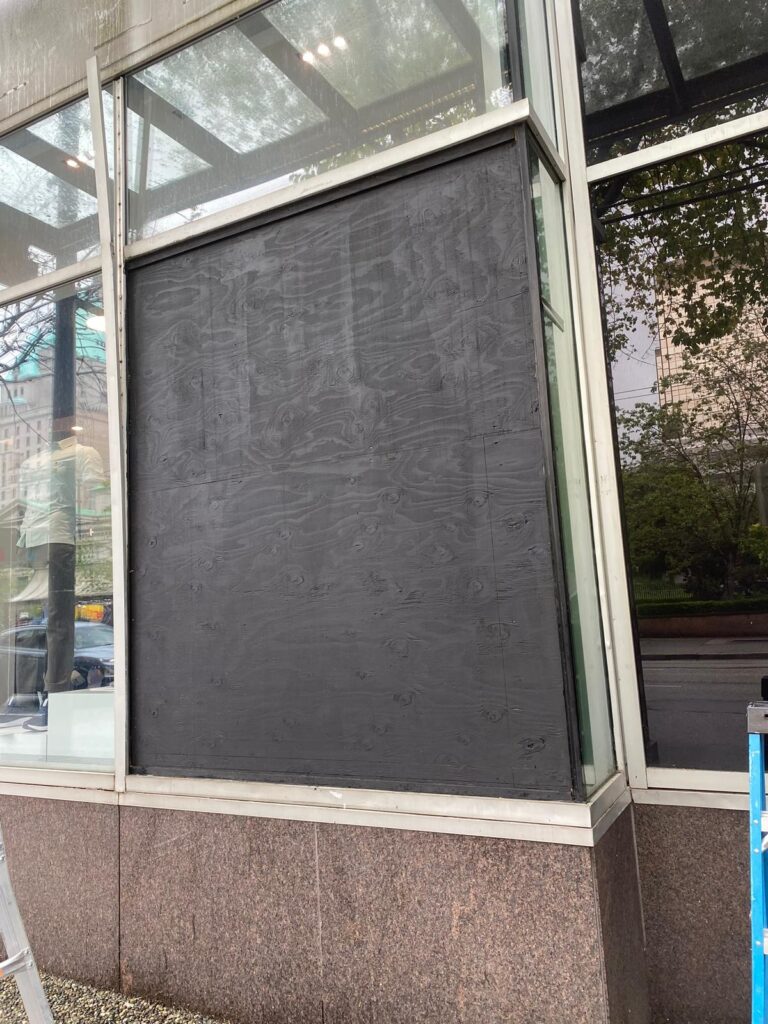
Step by step: boarding up a window from the outside
Outside mounting is the stronger option because the board covers the opening and sits on the exterior wall, which makes it harder to pry off. Use it when you can safely reach the window from the ground.
1. Clear the glass. Remove loose pieces from the frame using gloves, starting at the top. Place large pieces in a heavy box. Do not drop shards on the floor inside, as you will have to clean them later.
2. Sweep up debris inside and outside the window area. A shop vacuum with a hose attachment helps.
3. Measure the opening. Measure the width and height of the window frame, including the outer trim. Add at least 3 to 4 inches (about 8 to 10 cm) on each side so the board overlaps the wall.
4. Cut the plywood. Mark and cut the sheet to size. Cut it square and clean so it sits flat.
5. Test fit the board. Hold it over the opening and check that the overlap is even.
6. Pre-drill pilot holes in the board if the edges are close, to prevent splitting.
7. Fasten the board to the wall framing with screws every 8 to 12 inches (20 to 30 cm) around the edge. Use exterior-grade screws and drive them tight but not so deep that they crush the wood.
8. Seal the edges with weather tape or caulk, if you have it and conditions allow.
9. Check the board by pushing on it. It should not flex or move.
For a vinyl, stucco or brick exterior, find the framing or masonry before you fasten. Ask at a hardware store about the right fasteners for your wall type. Screws that only hold in siding will not survive wind.
Step by step: boarding up from the inside
When you cannot reach the outside safely, for instance on a higher floor or a narrow window well, an inside board-up is an alternative. It is less secure against entry but still keeps weather out.
1. Clear the glass and sweep the area.
2. Measure the interior opening, including the window casing.
3. Cut a plywood board slightly smaller than the opening, or larger if you will screw into the wall around it.
4. Install 2×4 cross-bracing on the inside, fastened into the framing on each side, to support the board.
5. Place the board against the bracing and screw it in place.
6. Tape plastic sheeting over any gaps that remain.
This method works as a short-term measure, but it is easy to open from the outside once the board is exposed. It is worth treating as a stopgap, not a security solution.
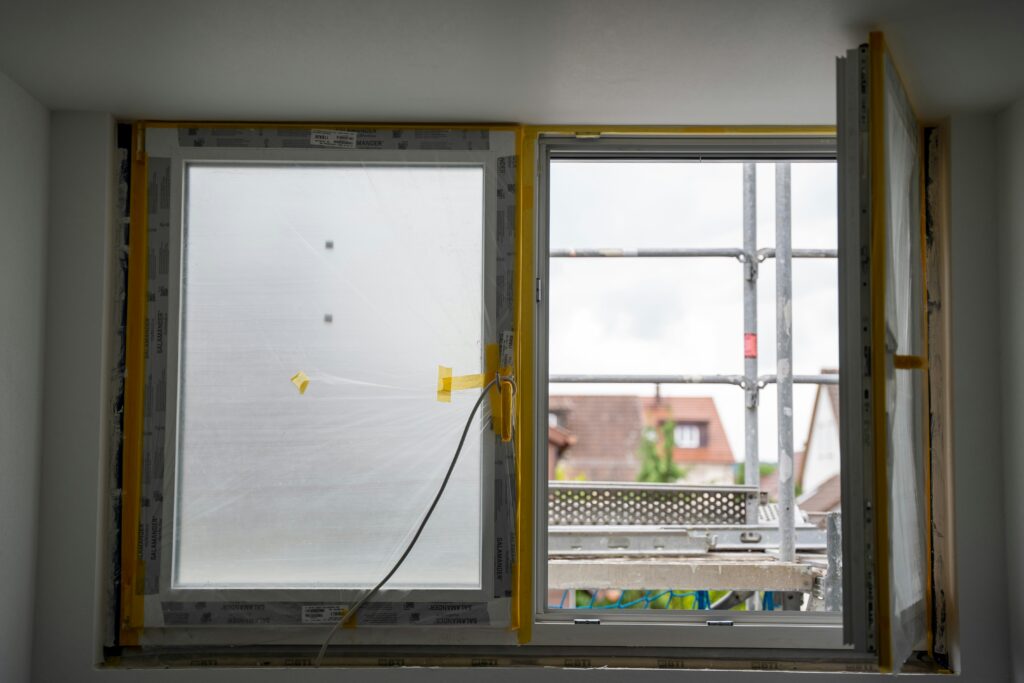
Common mistakes that make a board-up fail
- Using nails. Nails can be pulled out with a crowbar or loosen in wind. Screws hold much better.
- Skimping on thickness. Thin plywood bends and cracks.
- Making the board too small. If it sits only inside the frame, there is nothing keeping it from being pushed in.
- Fastening into the siding only. The board needs to be fixed to the wall structure.
- Using cardboard or tape alone. These are for a few hours, not for security.
- Leaving glass in the frame. Loose shards can fall or cut you when the board is removed later.
- Skipping the weather seal. Rain driven by wind finds every gap.
- Not documenting. Take before and after photos for your records.
How long will the board stay up?
That depends on how long the glass takes. Common single panes in stock sizes can often be replaced quickly. Tempered, laminated or sealed units are manufactured to order, and the lead time grows with the complexity. Ask your glazier for an estimated timeline when you order, and plan the board-up to last longer than you expect.
If the board will be up through the wet season, use thicker plywood and paint or seal the edges to reduce moisture damage. Plywood that is left uncovered in the rain can swell and warp within a few weeks.
Security: how to make a boarded window harder to defeat
If the window is at ground level or the property is empty, think about security as well as weather.
- Use longer screws and more of them.
- Add a cross-brace across the back of the board.
- Fit the board tightly to the wall, leaving no gaps for a pry bar.
- Keep lights on at night and consider a motion light.
- Do not leave valuables near the window.
- Tell neighbours that the window is boarded and who to call if they notice anything.
For businesses, this is where a professional board-up earns its fee. Commercial openings are larger and more visible, and a quick job can be an invitation. Our post on securing your business glass after a break-in goes into the next steps.
When to call a professional instead
A DIY board-up is fine in a few situations and risky in others. Call a professional if any of these apply:
- The window is large, such as a patio door, picture window or storefront
- The opening is above ground floor level
- Glass is still hanging in the frame
- The frame is damaged, bent or rotted
- It is dark, stormy or you are alone and cannot manage the board
- You need an invoice for an insurance claim
- The property is a business, strata unit or rental with rules on who does the work
A professional board-up crew brings the right sheet material, fastens it properly, removes hazardous glass and can often return to take the board down when the new window is installed. Our 24/7 emergency board-up service covers the Lower Mainland at all hours, and we have local pages for emergency board-up in Burnaby, Surrey and Richmond.
What happens after the board-up
A board-up is the start of the repair, not the end. The usual sequence after the opening is secure:
1. Measure and order the glass. A technician measures the opening and identifies the glass type.
2. Check the frame. Any damage to the frame, stops or sill is assessed.
3. Make or select the replacement. Sealed units and tempered panes are made to order.
4. Install. The board is removed, the opening is cleaned, and the new glass is set and sealed.
5. Final clean and inspection. The area is cleared, and the window is tested.
If the damage came from a break-in or a storm, your insurer may want to see photos and the invoice before the repair. See does home insurance cover broken windows? for what to keep.
Glass broken right now? 24/7 Glass Ltd answers around the clock across Metro Vancouver. Call (604) 401-4351 or send us your details and we will tell you what to do next.
Taking the board down
When the new glass arrives, remove the board carefully. Take out screws rather than pulling the board off, because ripping it away can damage siding or trim. Fill the screw holes with exterior filler, and touch up paint if needed. Keep the plywood if it is in good shape, as it may be useful for the next emergency, though we hope it is not.
A quick emergency kit for your home
A little preparation avoids a scramble later. Consider keeping these items in the garage or storage room:
- A sheet of plywood or two, cut to the size of your most vulnerable window
- A box of exterior screws
- A drill or driver
- Gloves, safety glasses and a dust mask
- Heavy-duty plastic sheeting and tape
- A flashlight and a phone number for a 24/7 glass company
If you have large patio doors or picture windows that would be hard to cover, save our number now and ask what to do in an emergency. It is easier to give advice before something breaks than during.
Frequently asked questions
How thick should plywood be to board up a window?
For a typical ground-floor window, half-inch plywood or OSB is a common minimum, with thicker material for large or exposed openings. Fasten it with exterior screws into the wall framing, not just the siding, so it resists wind and prying.
Is it better to board up a window from the inside or outside?
Outside mounting is generally stronger and more secure because the board overlaps the wall and is harder to pry off. Inside mounting is a fallback for places you cannot safely reach from outside and offers less protection against entry.
Can I board up a window with cardboard or tape?
Only for a few hours. Cardboard and tape do not hold up to wind or rain and offer no security. Use plywood fastened with screws for anything that will stay overnight or longer.
How long can a window stay boarded up?
Usually from a few days to a few weeks, depending on how long the replacement glass takes. Made-to-order tempered or sealed units take longer. Use thicker plywood and seal the edges if the board will stay up through wet weather.
When should I call a professional for a board-up?
Call a pro for large windows, upper-floor openings, glass still hanging in the frame, damaged frames, or when you need an invoice for an insurance claim. A 24/7 board-up crew can secure the opening quickly and safely.